Turn any smartphone into a GPS tracker
To upload data to the posduif server you will require a client application. Our Posduif app can be found on Google Play Store. Currently there is no iOS / Apple version of Posduif, but there is an option for these users. Since Posduif is built using the Traccar system, we can use the Traccar client program to share location data with Posduif.
The steps below will assist you in setting up your device.
Step 1: Download the app


Step 2: Set up the App (iOS/Apple only)
This step only applies to iOS/Apple devices. If you have the Android version installed from Google Play, you can move on to the next step.
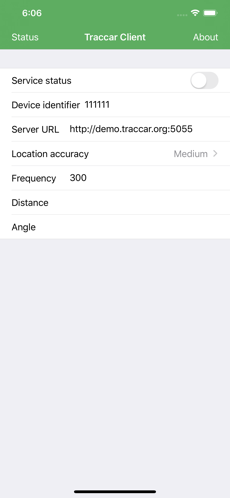
The default settings of the Traccar app are set to send the location data to the Traccar.org test platform. To connect the program to the Posduif system, it is necessary to change the settings values.
Note: The settings cannot be changed if the service is running (transmitting data). Stop the service to change the settings.
Server Status
The first entry in the app is Server Status. This can be toggled to turn the service on/off. When the service is turned on it will update your location to the server at a set interval.
Device Identifier
This randomly generated string is used to identify your device. This number must be provided to your account manager to that your device can be added to their account.
Note: Do not change this number unless instructed to do so by your account manager.
Server URL
The current server URL must be replaced with https://gps.posduif.xyz
Please ensure that you correctly type this address above, including the “https://” part.
Take note of the “S” in the first part of our URL. The default server URL start with http and ours with https
Location accuracy
Change the location accuracy to High. This will ensure that the GPS in your phone is activated to find the precise location of your phone.
Frequency
The frequency entry states how often (in seconds) your location will be updated. Your manager will determine the best value based on your use case. It is recommended that this be changed to 30
Step 3: Register your device
Now that you have completed the setup on your device it is required that your device be registered with your account manager. This will allow them to see the information uploaded by your device.
The account manager requires your Device ID to add the device to their account. You can give them your Device ID directly or you can make use of our Device activation form to forward it to them.
Step 4
Once the setup on your device is complete and your account manager has connected your device to their account, you can start sharing your location.
To share your location, simply open the app on your smartphone and tap the Service Status link. The service will then be activated and your data will be sent to the platform.
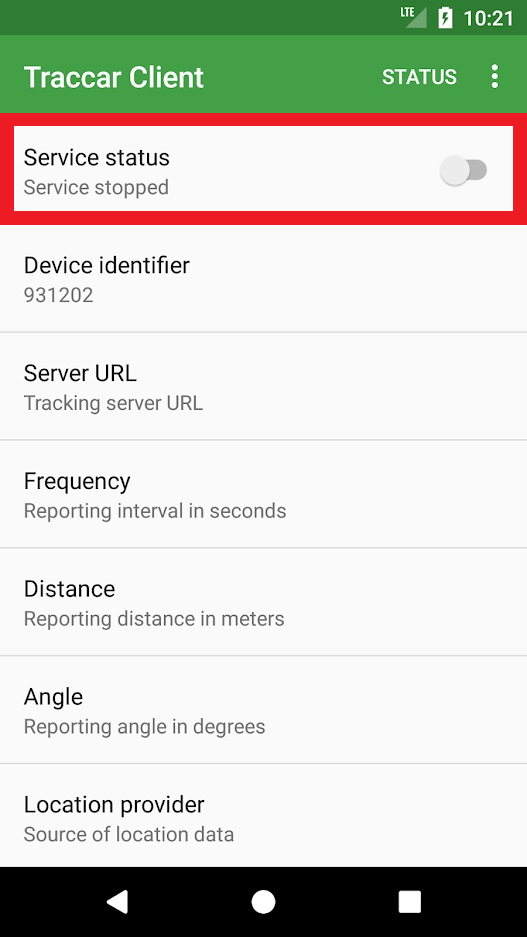
The same link can be used to turn off the service again. Your location data will not be sent to the platform while the Service Stopped message is displayed.